Testing a ring main is a crucial part of electrical installation and maintenance, ensuring the circuit is continuous, safe, and complies with regulations. While full testing typically involves an insulation resistance tester and loop impedance meter, a multimeter can be used for basic continuity checks.
⚠️ Important: Testing should only be carried out by competent individuals. Always disconnect the circuit from the consumer unit before beginning.
1. Safety Preparations
Before any test:
- Switch off the power at the consumer unit.
- Remove the circuit’s MCB or fuse to eliminate any chance of reconnection during testing.
- Label the circuit as “under test” to prevent accidental reconnection.
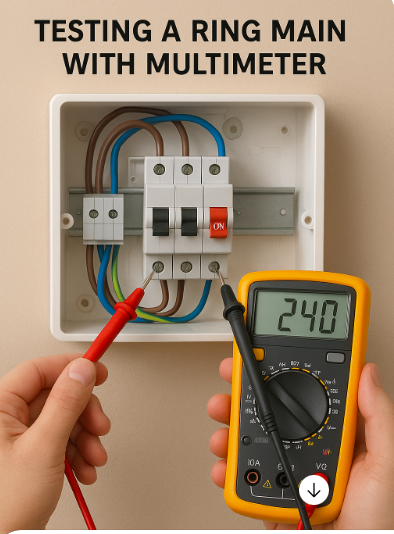
- Verify no voltage is present using a non-contact voltage tester or your multimeter set to AC voltage.
2. Tools Needed
- Digital multimeter with continuity and resistance settings
- Insulated screwdriver
- Pen and paper to record results
- Access to all relevant sockets on the circuit
3. Understanding the Ring Main
A ring final circuit (ring main) is wired from the consumer unit, looping around multiple sockets and returning to the same breaker. You will test:
- Continuity of line, neutral, and CPC (earth) conductors
- That each leg of the ring is properly connected
4. Access the Ring Wires
- At the consumer unit, carefully disconnect the ring conductors from the MCB and neutral/earth bars:
- Live (brown or red)
- Neutral (blue or black)
- CPC (bare or green/yellow)
- You will have two of each: one from the start of the ring, one from the end.
5. Continuity Test (Ring Integrity)
Set the multimeter to the lowest resistance (Ω) setting, ideally 200 ohms or similar.
A. Test Each Conductor Pair
Test the resistance across each pair:
- Line 1 to Line 2
- Neutral 1 to Neutral 2
- CPC 1 to CPC 2
You should get a low reading (typically under 1 ohm), depending on ring length and cable size.
✅ If the reading is consistent and low: The ring is continuous.
❌ If you get infinite resistance (open circuit): There is a break in that conductor.
Label wires clearly to avoid mixing them up after testing.
6. Figure-8 (Cross) Test for Ring Continuity
For a more thorough check (mimicking an R1+R2 test):
- Join Line 1 to Neutral 2, and Line 2 to Neutral 1, creating a figure-8.
- Go to each socket on the ring and measure resistance across the Line and Neutral pins. The readings should be similar at all sockets (within ~0.05 ohms of each other).
Repeat for Line and CPC, and Neutral and CPC, checking for consistent values.
🔍 This helps confirm that no spurs are incorrectly connected or that sockets are wired out of order.
7. Check for Cross Connections
Before reconnecting:
- Confirm Line is not shorted to Neutral or Earth.
- Set the multimeter to resistance and test:
- Line to Neutral
- Line to Earth
- Neutral to Earth
You should get infinite resistance (open circuit). Any measurable continuity could indicate a fault.
8. Reconnect and Final Checks
After confirming all continuity tests pass:
- Reconnect the conductors to their respective terminals at the consumer unit.
- Ensure all connections are tight and secure.
- Restore power and test the sockets for function and polarity (optional but recommended using a socket tester).
Conclusion
Using a multimeter to test a ring main can reveal continuity faults, breaks, or incorrect connections. While it doesn’t replace full professional testing with insulation resistance and earth loop impedance tools, it’s a safe and effective method for basic verification, especially after DIY modifications or fault finding. Always prioritise safety, label circuits, and consult a qualified electrician if in doubt.
Recent Comments