A 3-pin plug is one of the most common electrical components used in the UK and many other countries using the British Standard BS 1363 system. Knowing how to correctly wire a plug is essential for anyone working with electrical appliances or repairs. A properly wired plug ensures safe operation, prevents electric shocks, and reduces fire risk.
Tools and Materials You’ll Need
- A 3-pin plug (13 amp, BS 1363 type)
- Suitable flexible cable (usually 3-core, e.g. 1.0 mm² or 1.5 mm²)
- Wire cutters/strippers
- Small flathead screwdriver
- Electrical tester (optional but recommended)
Understanding the Plug’s Internal Terminals
Inside a 3-pin plug, you’ll find three main terminals:
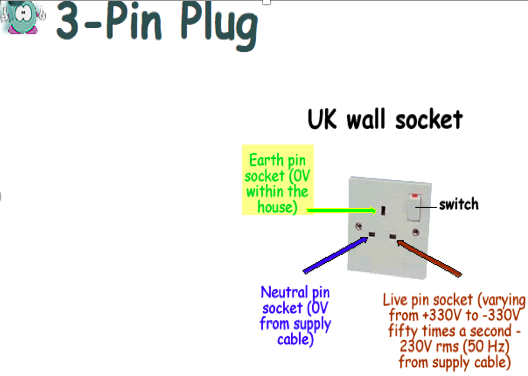
- Live (Brown) – This carries current to the appliance.
- Located on the right side when the plug is facing upwards.
- Marked ‘L’ inside the plug.
- Neutral (Blue) – This completes the circuit and returns current.
- Located on the left side.
- Marked ‘N’.
- Earth (Green/Yellow) – A safety path to ground in case of fault.
- Located at the top, usually longer and central.
- Marked ‘E’ or a grounding symbol.
Also inside the plug is a fuse holder, typically fitted with a 3A or 13A fuse, depending on the appliance.
Step-by-Step Wiring Instructions
1. Prepare the Cable
- Cut the outer insulation of the cable (about 40–50 mm from the end) without damaging the inner cores.
- Separate and trim the three inner wires to suitable lengths, allowing each to comfortably reach its terminal without strain.
- Strip about 5–6 mm of insulation from each inner wire.
- Twist the copper strands tightly to avoid fraying.
2. Insert the Cable into the Plug
- Unscrew and remove the plug cover.
- Slide the cable through the cable grip at the base of the plug. Do not secure the grip yet.
3. Connect the Wires to the Terminals
- Earth (Green/Yellow): Connect to the top centre terminal marked ‘E’. This wire is usually longest due to its location.
- Neutral (Blue): Connect to the left terminal marked ‘N’.
- Live (Brown): Connect to the right terminal marked ‘L’.
To connect:
- Loosen each screw terminal.
- Insert the copper wire into the terminal hole or under the clamp.
- Tighten the screw securely, ensuring no copper is exposed outside the terminal.
- Tug gently on each wire to ensure a firm connection.
4. Secure the Cable Grip
- Once all three wires are properly connected, secure the cable grip to hold the outer sheath of the cable firmly in place.
- This prevents internal strain on the wires if the plug is pulled out of a socket.
5. Check and Close the Plug
- Double-check that:
- All wires are correctly connected to their terminals.
- No stray copper strands are visible.
- The wires are not overly stretched or crossing each other awkwardly.
- Fit the correct fuse:
- 3A fuse for devices up to 700W (e.g., lamps, radios).
- 13A fuse for devices over 700W (e.g., kettles, heaters).
- Refit the plug cover and tighten the screw securely.
Safety Tips
- Always disconnect the appliance from power before working on the plug.
- Use the correct size fuse to protect the cable and appliance.
- Never join wires inside the plug using tape or connectors.
- Replace damaged cables entirely—do not try to fix broken wires.
Conclusion
Wiring a 3-pin plug is a simple but important skill that ensures the safe use of household and workplace electrical equipment. By following correct procedures—matching the wire colours to the correct terminals, securing the cable grip, and using the right fuse—you’ll create a reliable and safe connection.
Recent Comments